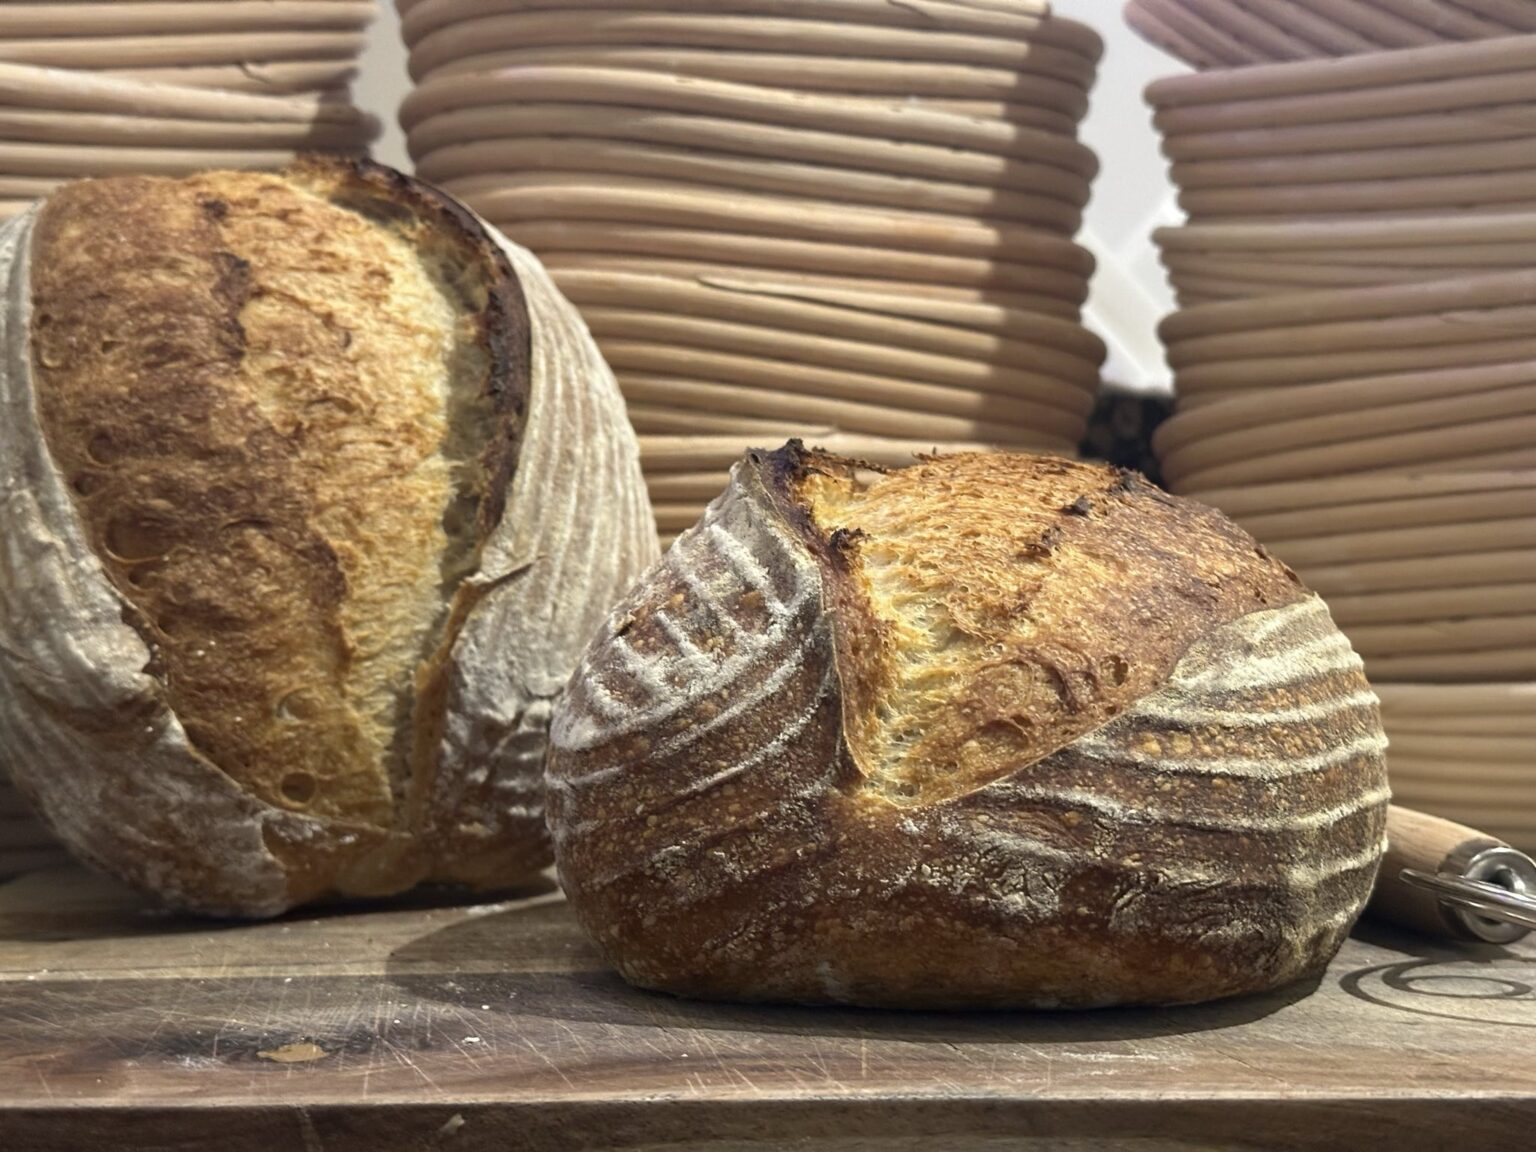
Sourdough Batard Recipe

Ingredients
- 47g whole wheat flour
- 372g white flour, 12.5%-14.5% protein
- 93g sourdough starter
- 279g water, 95°F
- 9g sea salt
- ~5g rice flour
Equipment
- 9” oval banneton
- dough card
- dutch oven
Directions
Yields one ~800g loaf of finished dough
1. Assemble the Dough
Combine the whole wheat flour, white flour, and salt in a bowl. Add the sourdough starter to the water and stir to dissolve. Pour the liquid mixture into the dry ingredients and mix thoroughly until no more dry flour remains using either a hand, dough whisk, or stand mixer. Cover the dough.
Note:
When using a stand mixer the paddle attachment will often mix better than the dough hook for dough with a hydration of 70% or higher.
Note:
Sourdough leavened breads often take a long time to rise relative to commercial yeast. Due to this, it is advised to cover the dough with plastic wrap or a lid of some sort to prevent excess evaporation of water from the dough that could occur with a tea or kitchen towel. I like to use disposable shower caps.
2. Build the Gluten Network
Perform a series of stretch and folds once per hour for the next four hours. Working around the dough from its four sides stretch the dough as far as it will go without tearing and fold it over itself.
Note:
If using a white flour in the 14%+ range for gluten protein content, you may only need to do three folds before you have reached a sufficient amount of gluten development for the loaf to stand up on it’s own while remaining soft on the interior.
3. Bulk Fermentation
After the gluten network has been sufficiently strengthened it is time to allow the dough to relax and rise for the first time. In this stage you should expect the dough to increase in size roughly 70%-80% it’s starting size. We are not looking for a full doubling in size because we are going to get the rest of our rise after the dough is shaped in the banneton. The time for this will vary depending on the strength of your starter and the temperature of your fermentation environment. A good place to start is two to four hours. The dough should feel bouncy and alive when this stage is done.
4. Shaping and Proofing
To shape the dough, flour the work surface and gently turn the dough out onto it. You do not want to degass the dough too much during this stage. Do not worry if you lose some because it is almost unavoidable. Gently roll the dough up from the side facing you front to back. Rotate the dough 90° and tightly roll it up again into your final shape while maintaining tension on the roll. Use the palms of your hands to tuck in the edges as you roll to maintain uniformity of the sides. Once the rolling is completed, seal in the sides by tucking in any dough that is sticking out and pinching closed. Flour the finished loaf with rice flour to prevent sticking to the banneton and place seam side up in the basket. Allow to rise until it is approximately 1/2 inch from the top of the basket. Cover and place in the refrigerator where it will continue to rise as it cools and will fill the whole basket.
5. Cold Retarding
For the purpose of developing flavor and an open crumb structure you want to leave your dough in the refrigerator over night for at least twelve hours.
Note:
Provided that your refrigerator is at the proper temperature of 34°F then your dough will not rise much if any above the top of the banneton. It can be held in this state for up to three days before the acid produced by the bacteria will start to diminish the strength of the gluten in the dough. If the loaf is over proofing in the fridge it is most likely because it is too warm.
6. Baking the Loaf
Place a dutch oven in the oven on a center rack and preheat to 475°F. Allow the dutch oven to come up to the same temperature as the oven before putting the loaf in. Once everything is up to temperature turn the loaf out onto a piece of parchment paper. Score the dough using a sharp razor blade. Hold the blade at ~40° angle from the dough and slash from north to south approximately 1” deep. This will create a “lip” that will turn into the ear once it springs in the oven. Carefully place the dough into the dutch oven and replace the lid. Allow to bake for 20 minutes covered before removing the lid and allowing to bake for an additional 15-20 minutes or until the desired color is achieved.
7. Cool and Slice
Once the loaf is done baking remove it onto a wire rack to cool. Allow to cool for at least 45 minutes before slicing so the crumb doesn’t gum up.
